
Most people think you need a dedicated NAS device from Synology or QNAP to create network storage at home.
While those systems are excellent, they are also relatively expensive if your goal is simply storing files, backups, documents, photos, or project data across devices.
What many people don’t realize is that a tiny Raspberry Pi Zero 2 W can perform the same basic job surprisingly well.
In my case, the project started with two unused items:
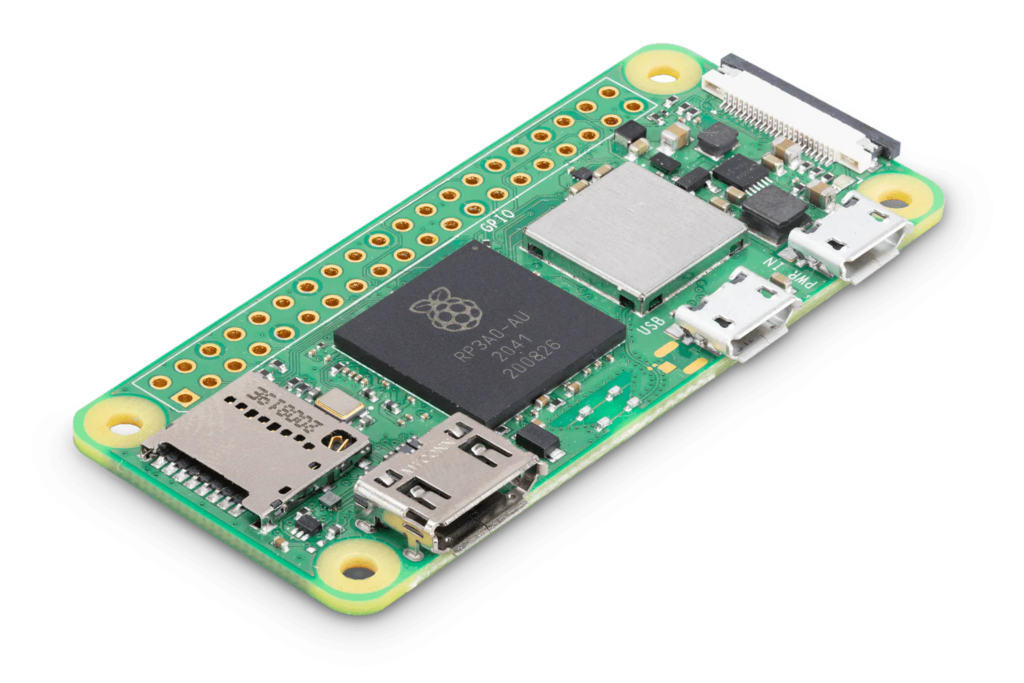
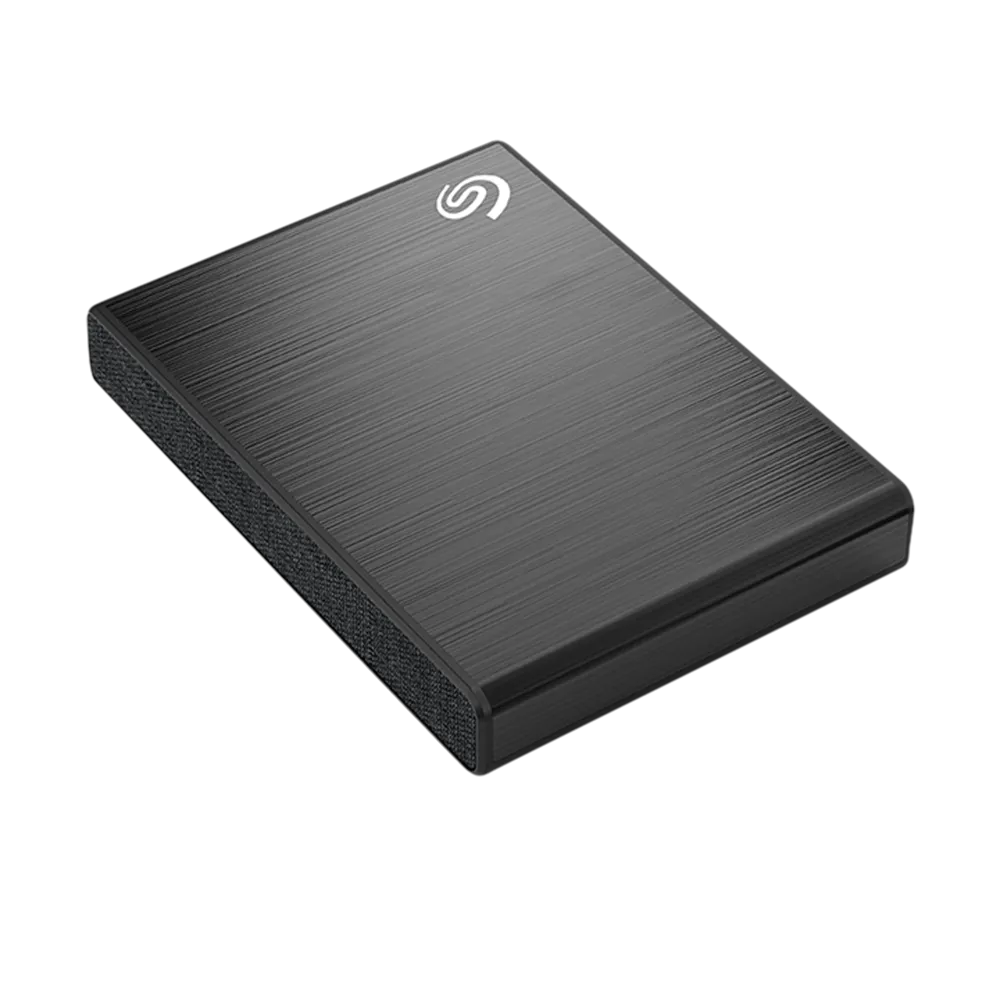
Instead of letting them collect dust in a drawer, I decided to turn them into a small network-attached storage system that could be accessed from Android devices, laptops, and other computers on the local network.
The result was a personal NAS that consumes very little power and runs 24/7.
And the entire setup cost almost nothing because the hardware was already available.
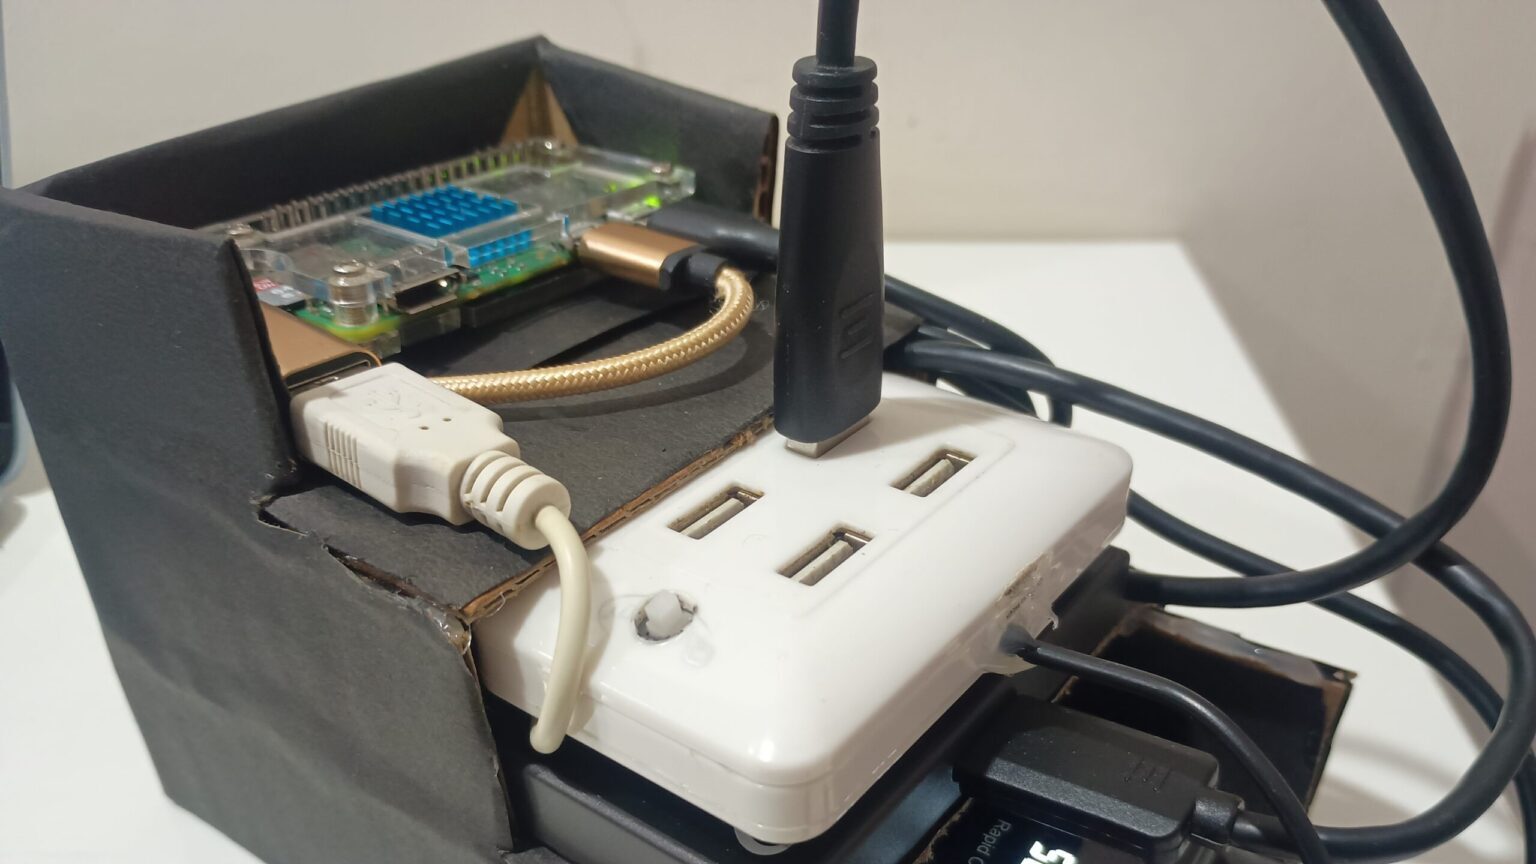
One of the most satisfying parts of this project was seeing a tiny Raspberry Pi Zero 2 W successfully serve files from a 1TB external hard drive across the local network.
The images below show the NAS setup currently running in my home lab. While this article focuses on the overall project and lessons learned during the setup process, I plan to publish more detailed configuration guides in future articles.


A NAS (Network Attached Storage) is simply a storage device accessible over a network.
Instead of plugging a hard drive directly into a laptop, the drive remains connected to a server and can be accessed from multiple devices.
For example:
A Raspberry Pi can act as that server.
The obvious question is whether a Pi Zero 2 W is powerful enough.
For basic file storage and home usage, the answer is yes.
It won’t replace a high-performance commercial NAS, but it is more than capable of:
And because the board consumes only a few watts, it can remain powered continuously without significantly affecting electricity consumption.
Initially, Raspberry Pi OS seemed like the obvious choice.
But after experimenting with several lightweight Linux distributions, DietPi made much more sense for a dedicated NAS.
DietPi is designed to be minimal.
Instead of installing a full desktop environment and unnecessary packages, it focuses on running services efficiently.
That means:
For a Raspberry Pi Zero 2 W, which has limited resources compared to larger Pi models, every megabyte matters.
Since this device would spend its life serving files rather than displaying a desktop, DietPi was the obvious choice.
This was the first real challenge.
Many beginners connect an external hard drive directly to a Raspberry Pi and assume everything will work.
Sometimes it does.
Sometimes it doesn’t.
Mechanical hard drives require significantly more power during startup than during normal operation.
The Pi Zero 2 W USB port has limited power capability.
When I first connected the drive, the behavior was inconsistent.
The drive would:
Initially, it looked like a software issue.
It wasn’t.
The problem was power.
Once adequate power was supplied to the drive, the detection issues disappeared completely.
This is one of the most common problems people encounter when building Raspberry Pi NAS systems.
If the drive randomly disconnects, check power before troubleshooting software.
The hard drive already contained files.
Reformatting wasn’t an option.
The drive was using exFAT, which is common when storage devices need to work across:
After connecting the drive, I verified detection:
lsblk
The drive appeared correctly in the device list.
Next, exFAT support was installed.
Once the required packages were available, the partition mounted successfully.
At that point, the Raspberry Pi could access all files stored on the drive without modifying existing data.
This was important because the NAS could immediately serve files already present on the disk.
Manually mounting a drive after every reboot quickly becomes annoying.
The solution is configuring /etc/fstab.
This file tells Linux which storage devices should mount automatically during startup.
First, the drive UUID was identified:
sudo blkid
Then an entry was added to:
/etc/fstab
Using UUIDs instead of device names is important because device names can change after reboot.
For example:
/dev/sda1
might become:
/dev/sdb1
under certain conditions.
UUIDs eliminate that problem.
After updating fstab, the drive mounted automatically every time the Pi started.
At that point, the storage system finally behaved like a dedicated NAS rather than a temporary setup.
Having storage attached to the Pi is only half the project.
The real goal is network access.
For this, Samba was installed.
Samba allows Linux systems to share folders using the SMB protocol, which is supported by:
A shared folder was configured and permissions were adjusted appropriately.
After creating a Samba user and enabling access, the shared drive became visible across the local network.
The first successful connection felt surprisingly satisfying.
A tiny Raspberry Pi Zero 2 W was now functioning as a network storage server.
This was actually one of the most useful parts of the project.
Using Android file managers that support SMB connections, the NAS became accessible directly from the phone.
The setup allowed:
without physically connecting the drive.
The experience felt very similar to using a commercial NAS device.
The difference was that the hardware cost was dramatically lower.
After using the setup for some time, the answer depends on expectations.
If you need:
then a dedicated NAS solution makes more sense.
But for:
the Pi Zero 2 W performs surprisingly well.
The biggest limitation is not CPU power.
It is usually:
For a simple home NAS, those limitations are often acceptable.
One of the most satisfying engineering projects is taking old hardware and giving it a new purpose.
This NAS project did exactly that.
A Raspberry Pi Zero 2 W that costs roughly the same as a meal and an old 1TB hard drive became a network storage server accessible from multiple devices.
The setup taught several practical Linux concepts:
More importantly, it demonstrated that useful home server projects do not require expensive hardware.
Sometimes all you need is a small computer, an unused hard drive, and a willingness to experiment.

Your information will never be shared with any third party