
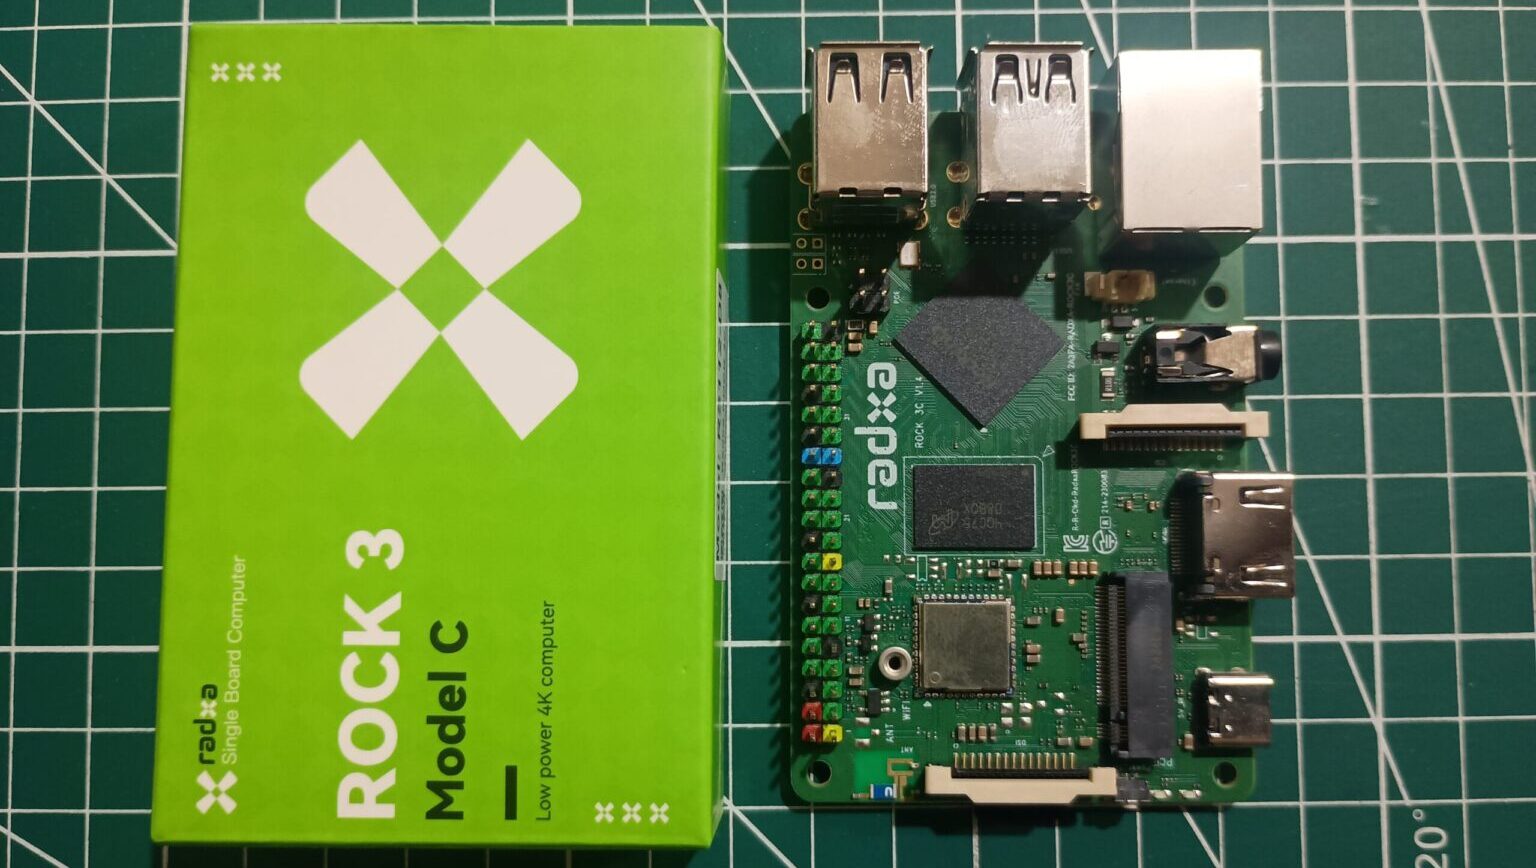
The Raspberry Pi has dominated the single-board computer market for years, but alternatives like the Radxa ROCK 3C have become increasingly attractive thanks to their improved performance, better storage options, and active software support.
Recently, I picked up a ROCK 3C and went through the complete setup process. While installing the operating system itself is straightforward, there are a few important details that can save you from future headaches—especially when it comes to system updates.
If you’re setting up a ROCK 3C for the first time, this guide will walk you through the process and highlight one critical step that many users miss.
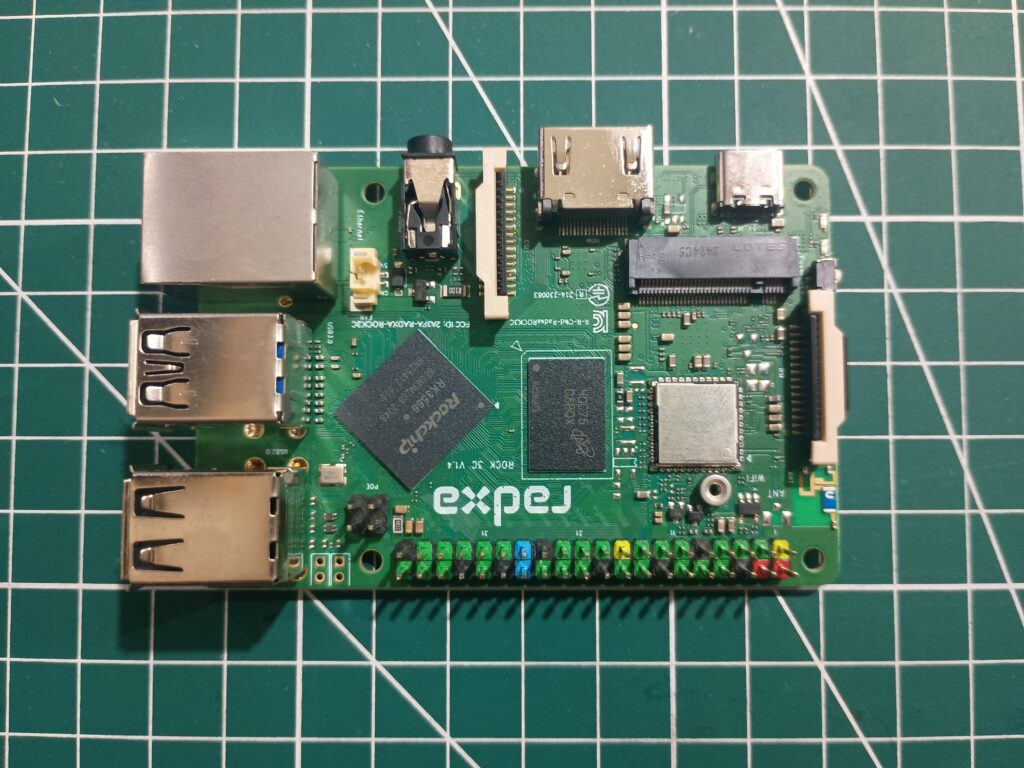
One thing I like about the ROCK 3C is its flexibility when it comes to storage.
Unlike many SBCs that primarily rely on microSD cards, the ROCK 3C supports multiple boot options.
This is the easiest and most beginner-friendly option.

Advantages:
This guide uses a microSD card for the operating system.
The board also supports eMMC modules.
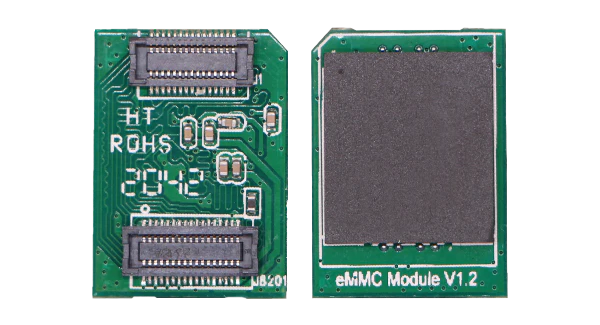
However, you’ll need:
Compared to microSD cards, eMMC generally provides:
For maximum performance, the ROCK 3C can boot from NVMe storage.

This option is ideal for:
For first-time users, starting with a microSD card is usually the simplest approach.
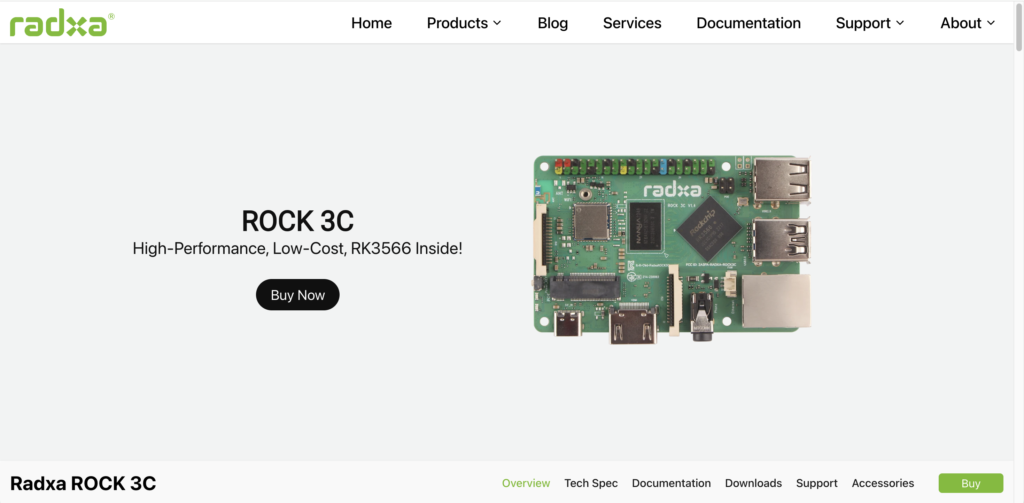
Before doing anything else, bookmark the official ROCK 3C page.
It contains:
Official Board Page:
https://radxa.com/products/rock3/3c
Whenever you need GPIO information, hardware diagrams, or technical specifications, this should be your first stop.
The officially supported operating system is Debian-based RadxaOS.
You can download the latest releases from:
https://github.com/radxa-build/rock-3c/releases
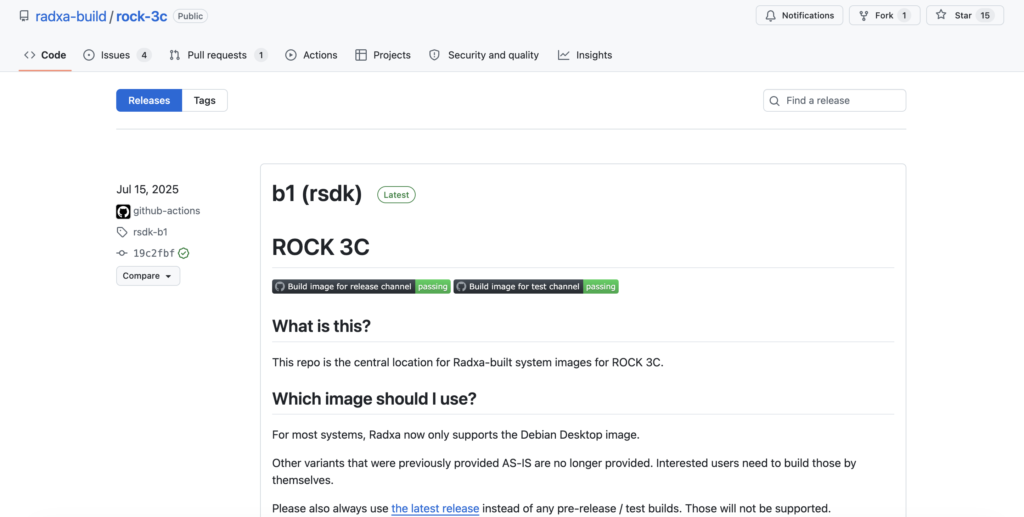
The image used in this setup was:
rock-3c_bookworm_kde_b1.output_512.img.xz
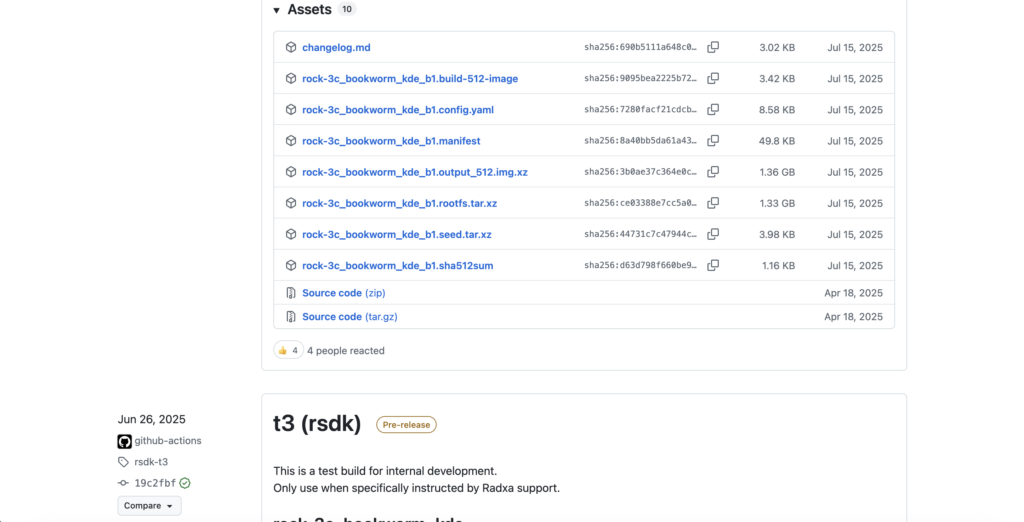
This image includes:
For beginners, using the official image provides the smoothest experience.
Once the image is downloaded, flash it to a microSD card.
I recommend using Balena Etcher.
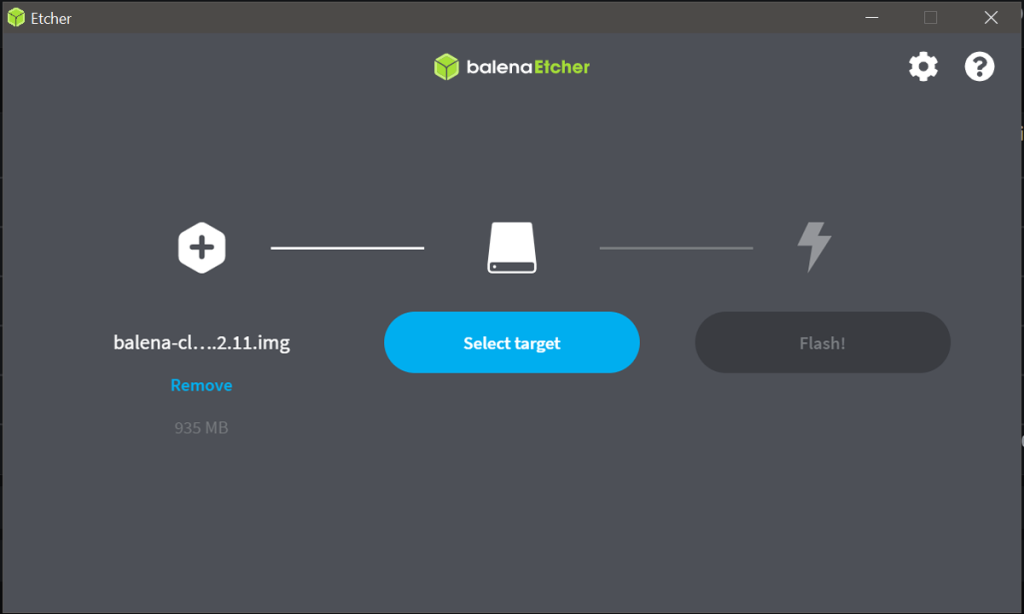
The process is simple:
One small tip:
Run Balena Etcher as Administrator.
Occasionally Etcher may fail to properly extract or write compressed images when launched normally. Running it as Administrator avoids many of those issues.
Once flashing completes:
After the system boots, you’ll be presented with the login screen.
The default accounts are:
Username: radxa
Password: radxa
Username: rock
Password: rock
Log in using either account.
After reaching the KDE desktop, open:
Konsole
This is where we’ll perform the remaining setup.
This is the step that deserves the most attention.
Like most Linux users, my first instinct was:
sudo apt update
sudo apt upgrade
or
sudo apt-get upgrade
On a normal Debian installation, that is perfectly reasonable.
However, the ROCK 3C image contains:
Updating before configuring the vendor repository can lead to package conflicts or missing vendor components.
I learned this the hard way after breaking my installation and having to reinstall the operating system.
Before upgrading the system, configure the Rockchip Vendor repository.
First verify the installed release:
grep VERSION_CODENAME /etc/os-release
Example:
VERSION_CODENAME=bookworm
The codename is used when adding the correct repository.
Run the following commands:
VENDOR="$(tr $"\0" $"\n" < /proc/device-tree/compatible | tail -n 1 | cut -d "," -f 1)"

source /etc/os-release

echo "deb [signed-by=/usr/share/keyrings/radxa-archive-keyring.gpg]" \
     "https://radxa-repo.github.io/$VERSION_CODENAME $VENDOR-$VERSION_CODENAME main" | \
     sudo tee "/etc/apt/sources.list.d/radxa-$VENDOR.list"

sudo apt-get update
This automatically detects the hardware platform and configures the correct Vendor repository.
After adding the repository:
sudo apt-get dist-upgrade --allow-downgrades task-rockchip
Once complete:
sudo apt-get dist-upgrade --allow-downgrades
These commands ensure the system uses the proper Rockchip-specific packages and dependencies.
The Rockchip Vendor repository is supported only on Debian-based RadxaOS.
It should not be enabled on Ubuntu images.
If you are using:
rock-3c_bookworm_kde_b1.output_512.img.xz
then you are using the recommended Debian image and can safely proceed.
After configuring the Vendor repository and packages, updates become much safer.
Instead of immediately using:
sudo apt upgrade
launch:
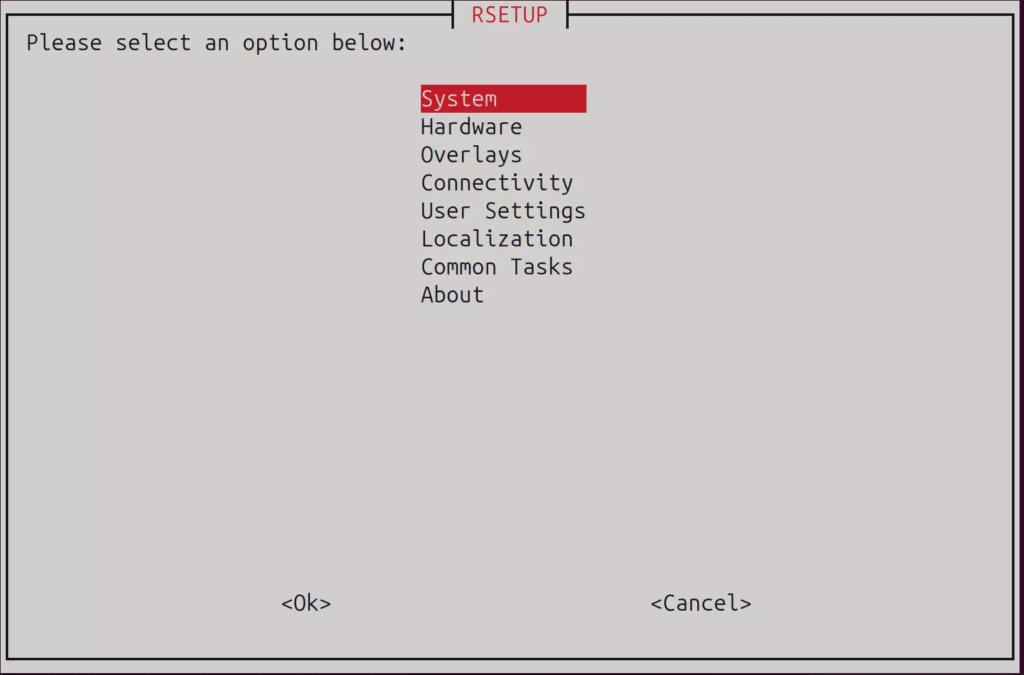
rsetup
and perform updates through Radxa’s management utility.
This helps preserve:
and significantly reduces the chance of breaking the operating system.
Once updates are complete, it’s worth verifying that everything is working correctly.
ping google.com
lsblk
cat /etc/os-release
uname -a
These simple checks confirm that the board is functioning correctly.
Once the initial setup is complete, the ROCK 3C becomes a surprisingly capable Linux machine.
Popular projects include:
Because of its support for eMMC and NVMe storage, the board is particularly attractive for server-related projects.
The Radxa ROCK 3C is one of the most capable Raspberry Pi alternatives currently available.
The hardware is powerful, the Debian image is stable, and the board offers excellent flexibility when it comes to storage options.
The biggest piece of advice I can give new users is simple:
Don’t rush into a normal Debian upgrade immediately after booting.
Take a few minutes to configure the Rockchip Vendor repository first and perform updates using Radxa’s recommended workflow.
That small step can save you from having to reinstall the operating system later.
Once the board is configured properly, it becomes an excellent platform for home servers, NAS projects, Linux development, and countless other applications.

Your information will never be shared with any third party